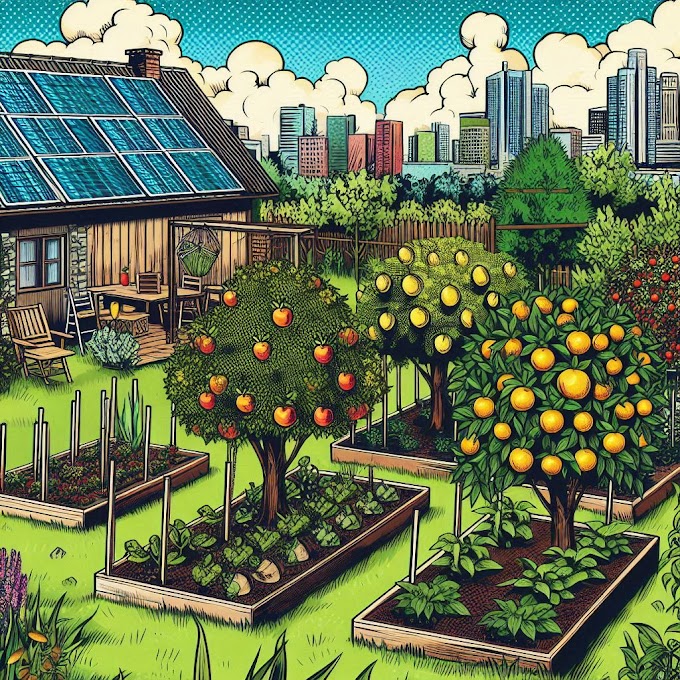
Fermenting Your Backyard Survival Garden Vegetables 101
Preserving your backyard survival garden harvest through fermentation is one of the oldest, most reliable methods of food preservation. It not only extends shelf life but also boosts the nutritional content of your veggies, thanks to beneficial probiotics created during the process. Here’s how to get started:
Why Ferment Vegetables?
➡ Long-Lasting Preservation: Fermentation extends the life of your vegetables for months.
➡ Nutritional Boost: It increases probiotics and digestive enzymes.
➡ Enhanced Flavor: Fermented veggies develop rich, tangy flavors.
➡ Sustainability: Reduce food waste by preserving excess produce.
Best Vegetables for Fermentation:
➡ Leafy Greens: Kale, cabbage (for sauerkraut)
➡ Root Veggies: Carrots, radishes, beets, turnips
➡ Alliums: Garlic, onions
➡ Crunchy Veggies: Cucumbers (for pickles), bell peppers
Basic Fermentation Supplies You’ll Need:
➡ Fresh Vegetables: Straight from your garden for the best results.
➡ Non-Iodized Salt: Use sea salt or kosher salt.
➡ Water: Filtered or distilled water (chlorine-free).
➡ Fermentation Jars: Mason jars with airtight or airlock lids.
➡ Weight: A fermentation weight or a clean stone to keep veggies submerged.
How to Ferment Garden Vegetables
1. Prepare the Vegetables:
➡ Wash your veggies thoroughly. Peel, chop, or shred as needed.
2. Make a Salt Brine:
➡ Dissolve 1-2 tablespoons of non-iodized salt per quart of water. Adjust salt to your taste and the type of vegetable (harder veggies need more salt).
3. Pack the Jars:
➡ Tightly pack vegetables into sterilized jars, leaving about an inch of headspace.
➡ Add garlic, dill, or other herbs for extra flavor if desired.
4. Add the Brine:
➡ Pour the salt brine over the vegetables, ensuring they are fully submerged. Use a weight to keep them down.
5. Seal the Jars:
➡ Use a fermentation lid or an airlock system, or simply seal the jars loosely to allow gas to escape during fermentation.
6. Ferment:
➡ Store the jars in a dark, cool spot (65-75°F is ideal). Fermentation takes 5-10 days, depending on the temperature and desired taste. Check daily for bubbling and adjust the lids if needed.
7. Taste and Store:
➡ Taste-test your veggies after 5 days. When they reach your preferred tanginess, seal the jars tightly and refrigerate them. Fermented veggies will last for months when stored properly.
Fermentation Tips for Success:
➡ Keep It Submerged: Veggies must stay under the brine to avoid mold.
➡ Use Fresh Produce: The fresher the vegetables, the better the ferment.
➡ Temperature Matters: Warmer temps speed up fermentation; cooler temps slow it down.
➡ Experiment: Try different veggies, spice combinations, and herbs for unique flavors.
With these steps, you’ll be fermenting like a pro in no time! Fermented vegetables from your backyard survival garden are the perfect way to preserve your harvest while adding nutritious, flavorful food to your pantry. Happy fermenting!


